Admin Guide
For QuilrAI platform admins. This page covers turning self-service on for an app, choosing what kind of credential your developers receive, and controlling who can do what.
New to self-service? Start with the Overview. Looking for the developer's side? See the Developer Guide.
Where to Configure It
Open the app in the LLM Gateway, go to API Key Settings, and select the Self-Service tab. Everything on this page lives there.
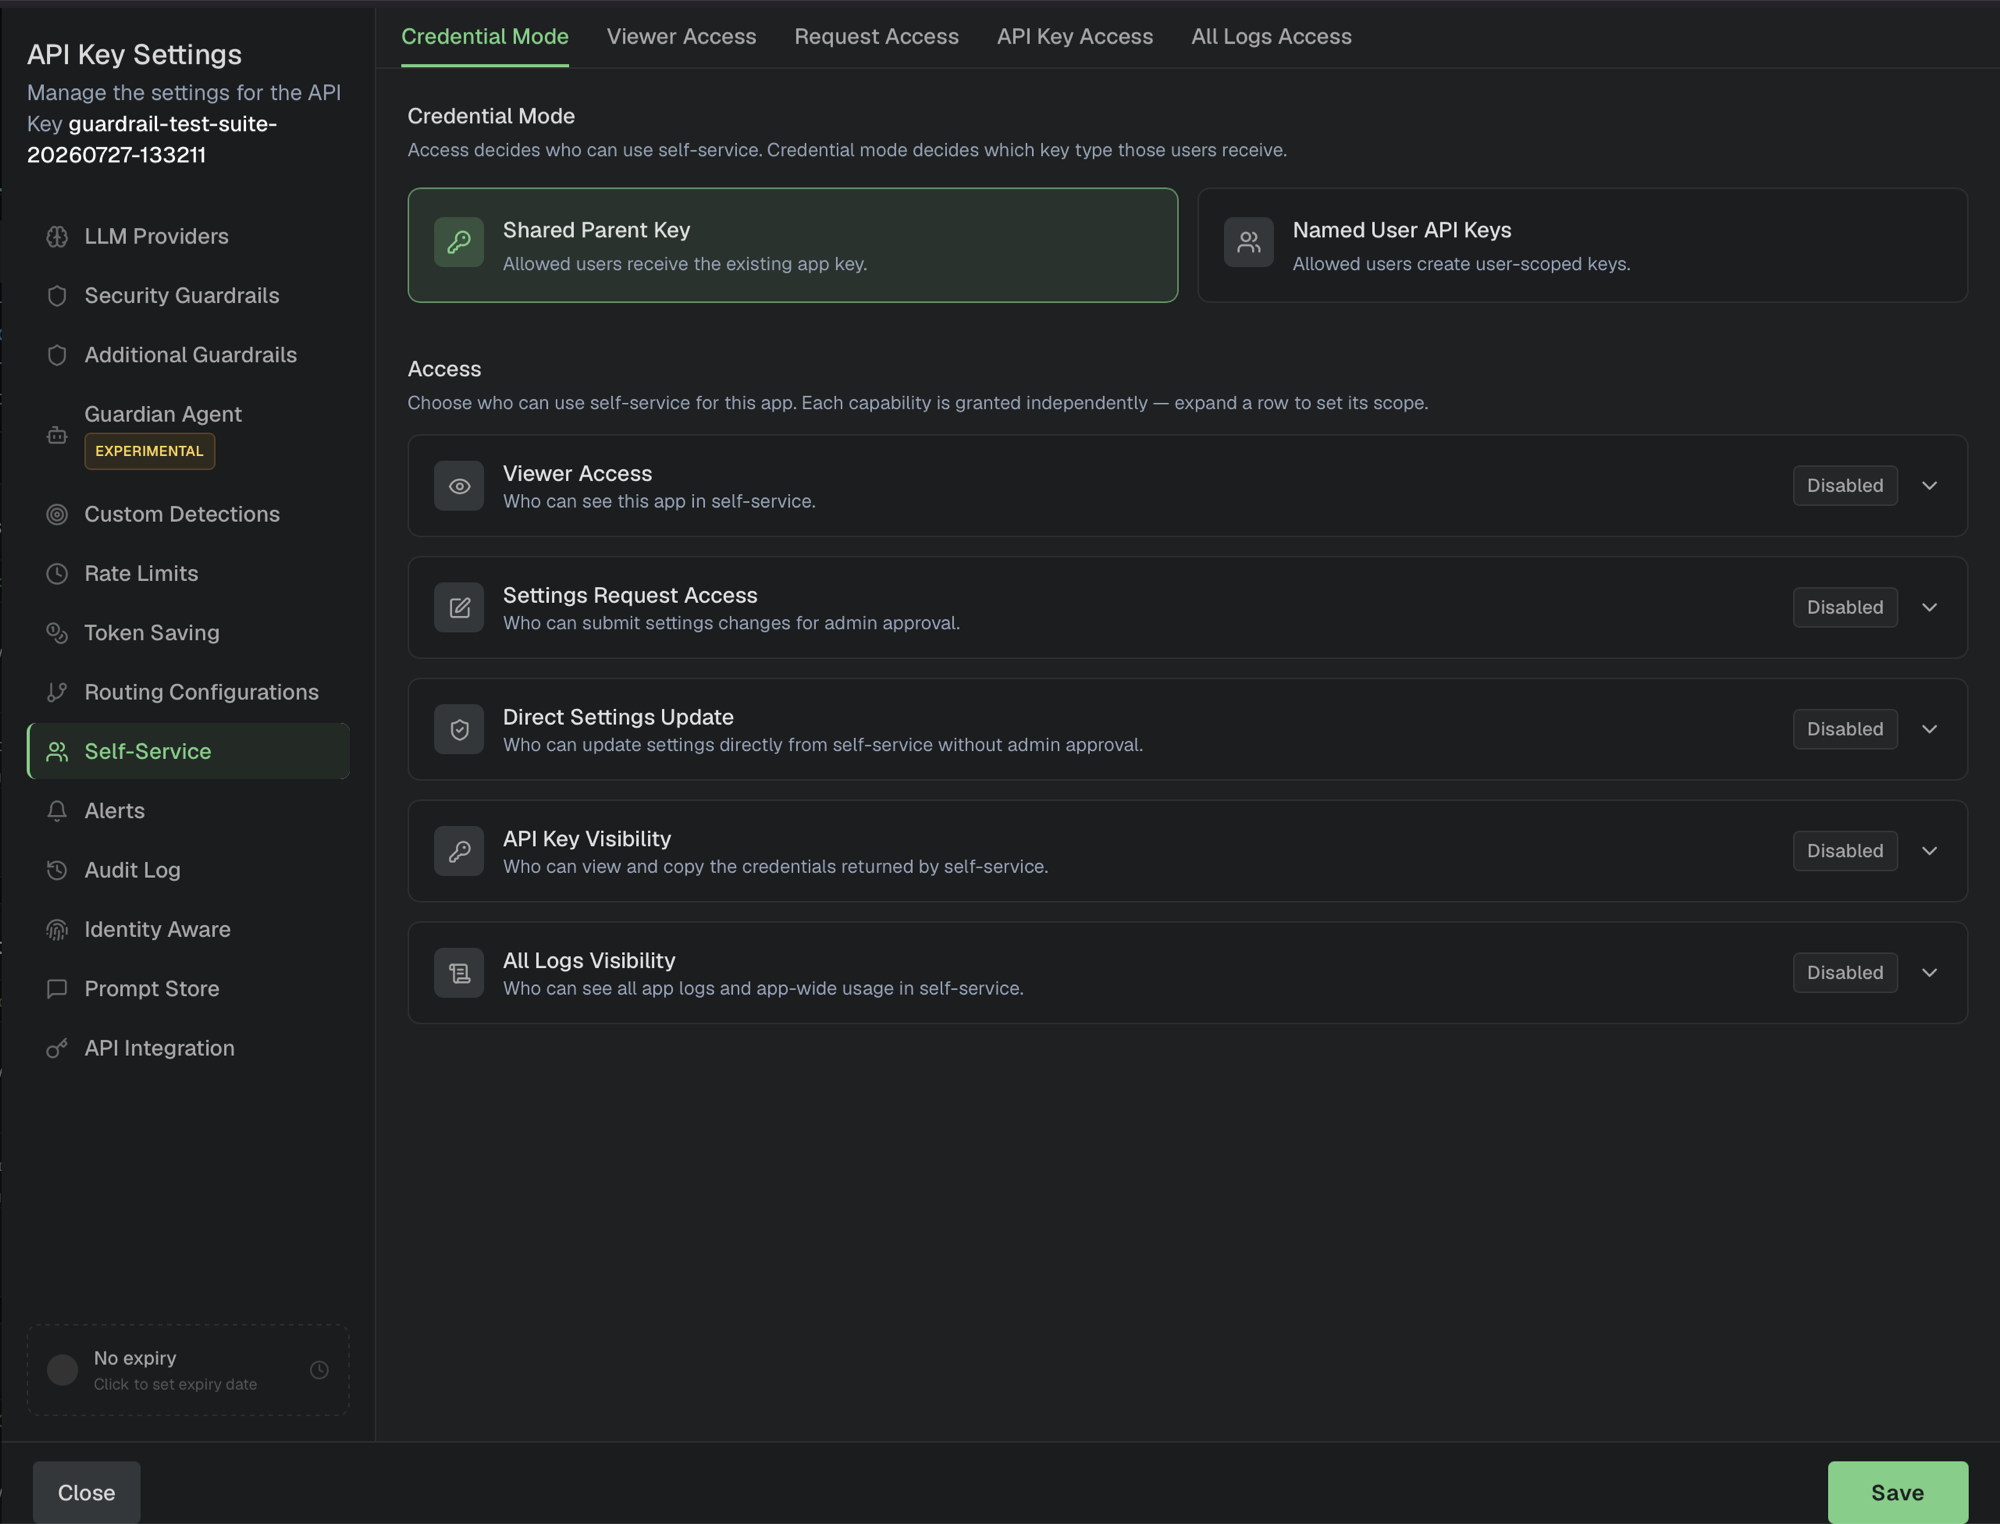
The tab has two parts:
- Credential Mode - which kind of key allowed users receive.
- Access - who is allowed to do what. Each capability is granted independently; expand a row to set its scope.
Changes take effect when you Save.
Step 1: Choose a Credential Mode
In Named User API Keys mode the gateway only accepts a valid named self-service key tied to an active stored record. A bare parent key, a JWT, or an X-User-Email header alone are rejected. See Credential Modes for the key format.
Moving an app to Named User API Keys means the bare parent key is no longer accepted for that app. Make sure existing integrations have moved to named keys before you switch.
Step 2: Grant Capabilities
Access is granted per capability, so you can let a wide group view an app while only a few people can change settings or see raw credentials.
Direct Settings Update vs Settings Request Access
These two capabilities cover the same surface with different amounts of oversight:
Grant Direct Settings Update sparingly. It removes the review step entirely, so a self-service user can change providers, guardrails, routing, and rate limits on a live app. The change is still versioned in Config History and can be rolled back, but nobody approves it first.
The self-service configuration itself (credential mode and access control) is not exposed in the portal. Users with Direct Settings Update cannot grant themselves or anyone else access.
Step 3: Set the Scope of Each Capability
Each capability is set independently to one of three modes:
In both Everyone and Specific mode you can add exceptions - specific people or smart groups to block. Exceptions always win: a denied user is blocked even if they also match an allow rule or "Everyone".
If an app has no self-service access configured, self-service is denied for everyone until an admin grants a capability. Turning a capability Disabled is also a deny - it does not fall back to "anyone".
Smart Groups
Smart groups are reusable, named groups of users managed for your tenant. Instead of pasting individual emails into every app, add a smart group (for example, engineering) to an allow or deny list and manage membership in one place. Removing someone from the group removes their self-service access across every app that references it.
Reviewing Change Requests
Self-service users with Settings Request Access never edit live config directly. Their submissions land as change requests for an admin to review. Supported requests include configuration updates, tag changes, identity/JWT settings, custom categories, and prompt-store changes.
Review and decide on requests from the app's Audit Log tab, filterable by status (pending, approved, rejected, failed, stale). See Audit Log for the full approval workflow.
Approvals only govern self-service requests. An admin editing an app's settings directly still takes effect immediately.
Permissions
- Configuring self-service (credential mode and access control) requires the LLM Gateway – Update permission.
- Approving or rejecting change requests also requires LLM Gateway – Update. See Audit Log.
Revoking Access
Removing a user or smart group from access hides the app and stops them from creating new keys. It does not invalidate named keys they already created or shared parent keys they already copied.
To cut off an existing credential:
- Named User API Keys mode - revoke the individual named key. Revocation is a soft delete: the key stops working, but its record is retained for audit history.
- Shared Parent Key mode - rotate the app key, since every allowed user holds the same value.
Related
- Overview - concepts, credential modes, and the key format.
- Developer Guide - what your users see in the portal.
- Audit Log - approve change requests, review config history, and roll back changes.
- Identity Aware - per-user identity, tracking, and domain controls.