Overview
Let your developers get gateway access and manage their own API keys, without an admin minting a key for every person.
Self-service has two sides. A platform admin decides which apps are exposed, what kind of credential users receive, and what they are allowed to do. A developer signs in to the Self-Service portal, picks up or creates a key, and starts calling the gateway.
How It Works
- Admin grants access - On an API key's Self-Service settings tab, choose a credential mode and pick who can use it.
- User signs in - Users with self-service access land in the Self-Service portal and see only the apps they were granted.
- User gets a key - Depending on the mode, the user receives the shared app key or creates their own named, user-scoped key and starts calling the gateway.
Credential Modes
Each app runs in one of two credential modes. The mode decides which kind of key allowed users receive - it does not decide who has access. Access is always controlled separately (see Capabilities).
In Named User API Keys mode, each key looks like the app key with a self-service payload appended:
sk-quilr-<app-key>:ss1.<encoded-identity>.<random>
The payload identifies the user and key; the random suffix lets one person hold several keys for the same app (for example, one per machine). Use the full string anywhere you'd normally use an sk-quilr-… key:
from openai import OpenAI

client = OpenAI(
    base_url='https://guardrails-usa-2.quilr.ai/openai_compatible/',
    api_key='sk-quilr-xxx:ss1.a1b2c3.d4e5f6'  # your named self-service key
)

response = client.chat.completions.create(
    model='gpt-4o-mini',
    messages=[{'role': 'user', 'content': 'Hello!'}]
)
Per-user identity is recorded on every request, so usage, logs, and findings are automatically attributed to the user behind the key - the same per-user view you get with Identity Aware.
Capabilities
Access is granted per capability, so you can let a wide group view an app while only a few people can change settings or see raw credentials.
Each capability is granted independently, and each one is scoped to nobody, everyone, or a specific set of people and groups. See Set the Scope of Each Capability in the Admin Guide for how to configure them.
If an app has no self-service access configured, self-service is denied for everyone until an admin grants a capability. Turning a capability Disabled is also a deny - it does not fall back to "anyone".
The Self-Service Portal
Users with self-service access sign in to a dedicated portal instead of the full admin dashboard. For each app they can view, the portal has three tabs:
- Settings - Credential mode and app details (provider, models, routing groups, estimated cost), plus key management in Named User API Keys mode.
- Logs - The app's request logs. Scoped to the user's own activity unless they have All Logs Visibility.
- Findings - Guardrail activity (blocked, monitored, anonymized, normal) with per-request detail. Also scoped to the user unless they have All Logs Visibility.
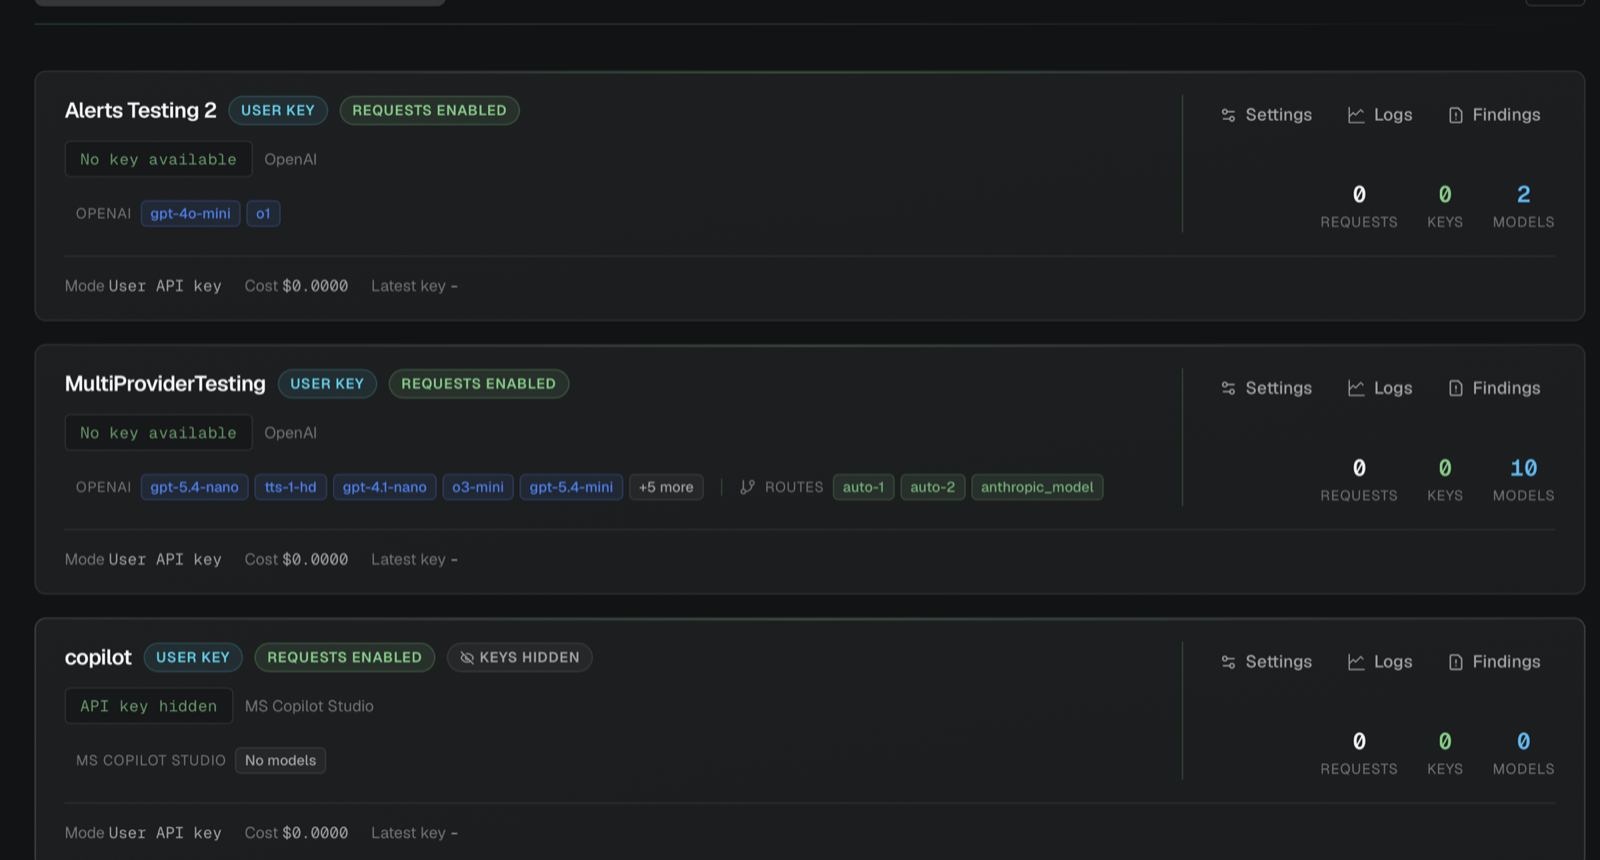
For a walkthrough of each tab, see the Developer Guide.
Limitations
- Revoking access does not revoke issued keys. Removing a user or smart group from access hides the app and stops them from creating new keys, but it does not invalidate named keys they already created or shared parent keys they already copied. Revoke individual named keys (from the portal or as an admin) when you need to cut off an existing credential.
- Named self-service keys are soft-revoked - a revoked key stops working but its record is retained for audit history.
Related
- Admin Guide - configure credential mode, capabilities, and smart groups.
- Developer Guide - use the portal, create keys, and request settings changes.
- Identity Aware - per-user identity, tracking, and domain controls.
- Audit Log - approve change requests, review config history, and roll back changes.
- Request Routing - the routing groups shown in an app's self-service details.