Deploy with Jamf Pro
Use the architecture-appropriate macOS package and the tenant-generated configuration profiles. Complete the deployment prerequisites first.
Deploy the native agent and extension
-
Upload the architecture-appropriate
QuilrInstaller.pkgunder Settings > Computer Management > Packages. -
Upload the Full Disk Access mobileconfig under Computers > Configuration Profiles and scope it to the target computers before the package policy runs.
-
Create a script that writes
tenant = <TENANT_ID>to/tmp/agent.conf. Add it to the deployment policy with Priority: Before. -
Create a policy with Recurring Check-in and Once per computer. Add the tenant script, then the PKG with Action: Install, and scope the policy to the approved computers or smart group.
-
For the extension, download the tenant mobileconfig from Settings > Browser Extension > Deployment. Upload it to Computers > Configuration Profiles, use Computer Level and Install Automatically, define scope, and save.
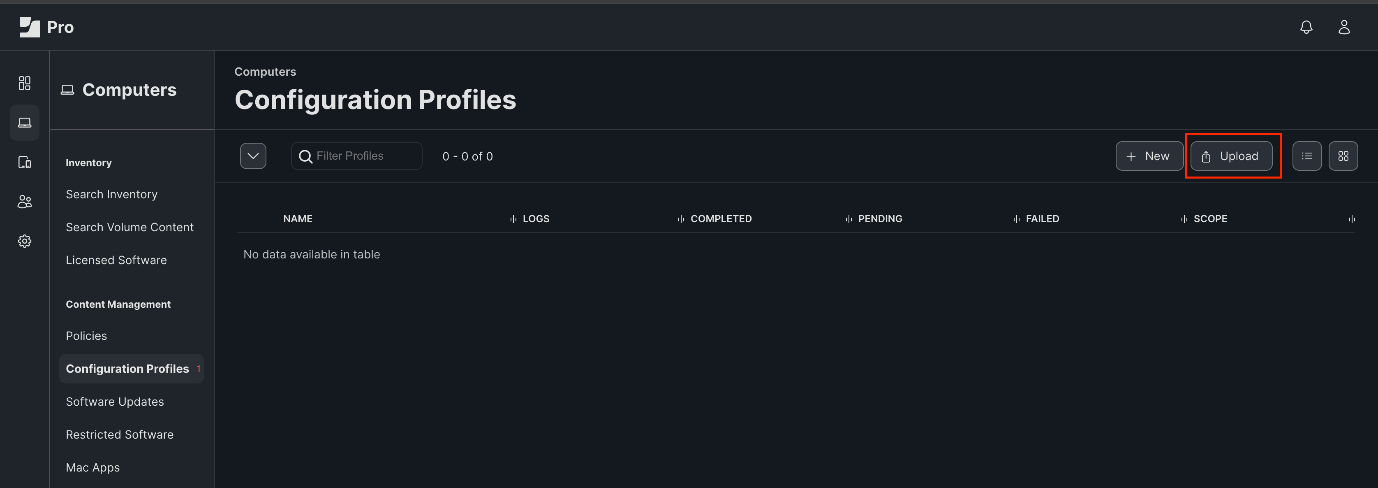
Jamf Pro Configuration Profiles area used to upload the tenant mobileconfig and Full Disk Access profile.
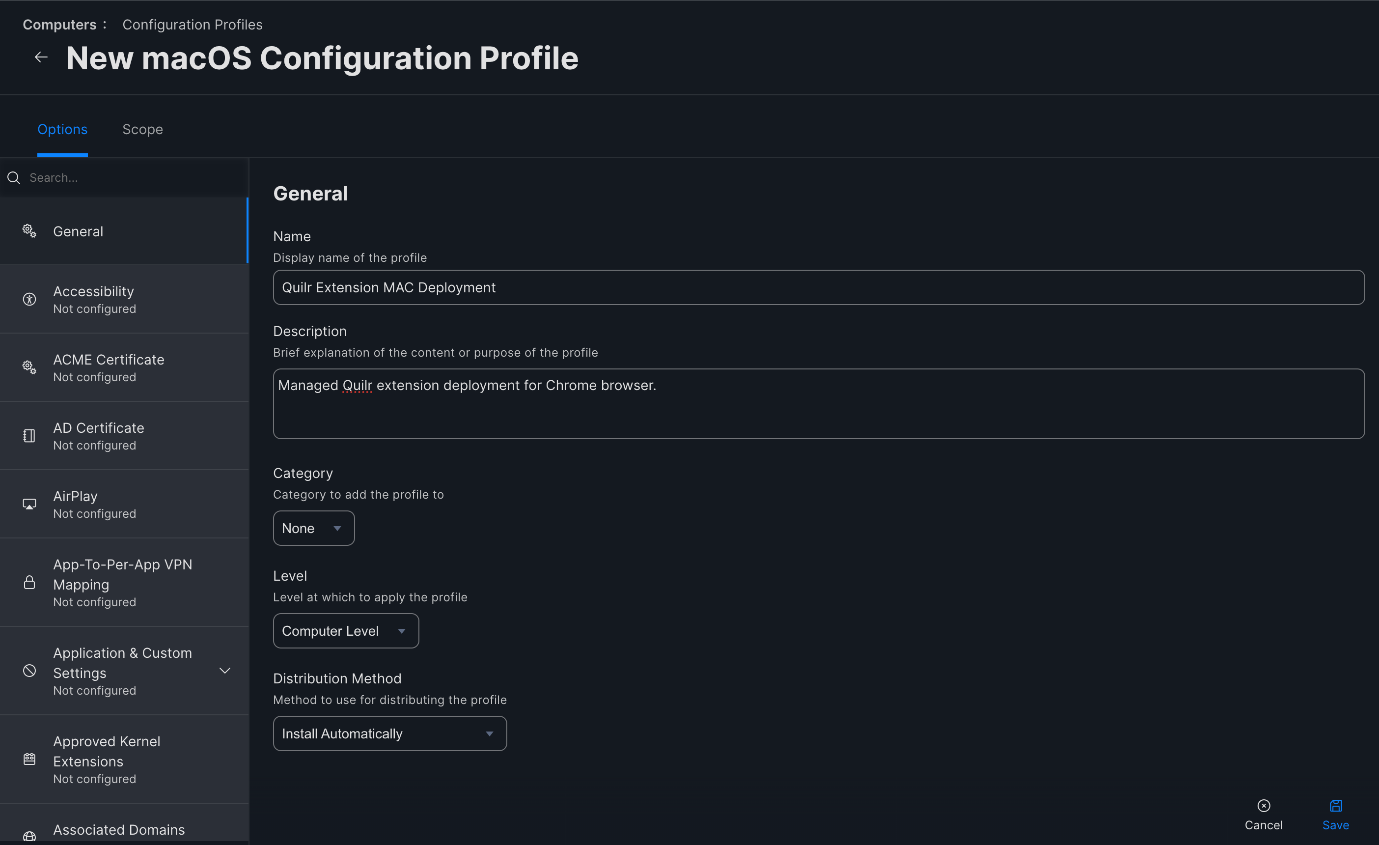
Jamf Pro computer-level profile configured for automatic extension deployment.
Validate deployment
Follow the validation procedure. Confirm that Full Disk Access and the tenant configuration were deployed before the native package.